About this collection
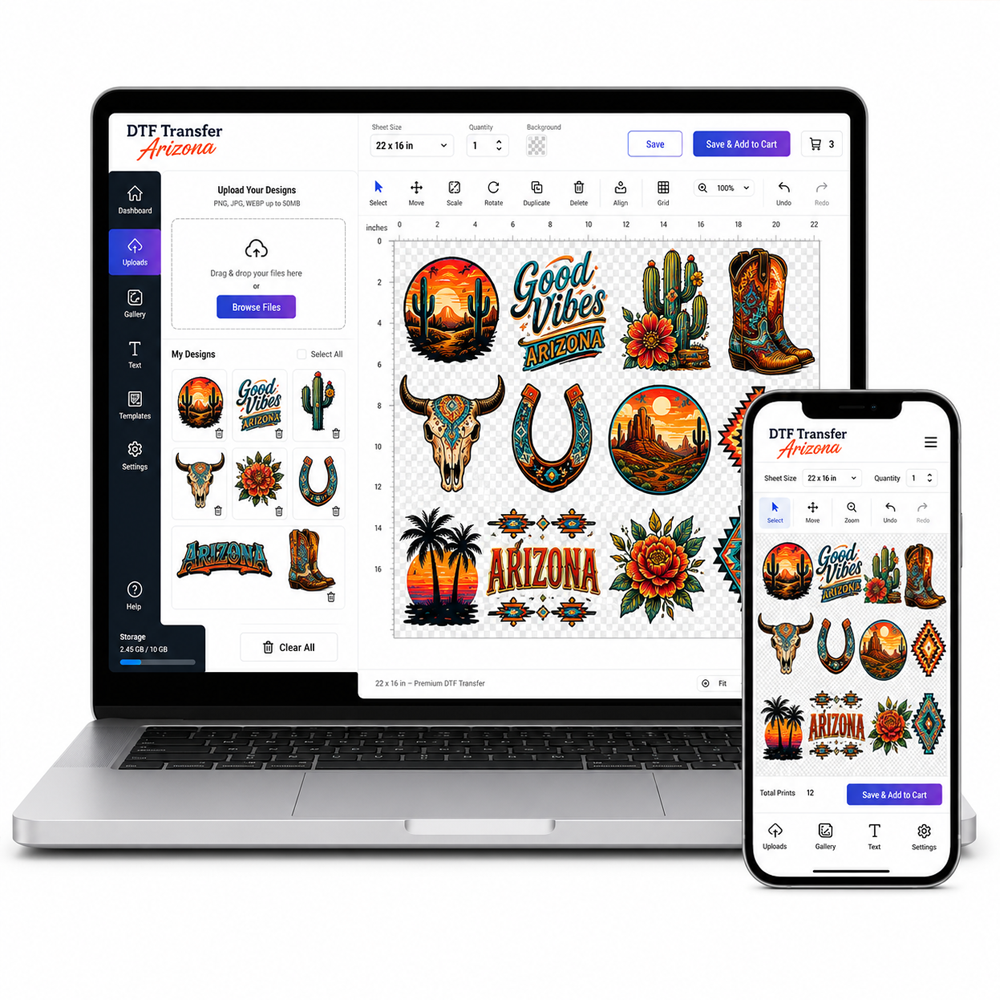
Custom sublimation transfer projects should begin with the item being decorated, the artwork, the finished design size, and the intended placement.
Confirm these details before preparing the transfer so the design is planned around the actual product rather than adjusted later in the workflow.
Start With the Intended Product
Identify the exact garment or item that will receive the design before finalizing the transfer.
Review the product specifications and confirm that it is suitable for the sublimation process you plan to use.
Prepare the Artwork at the Final Size
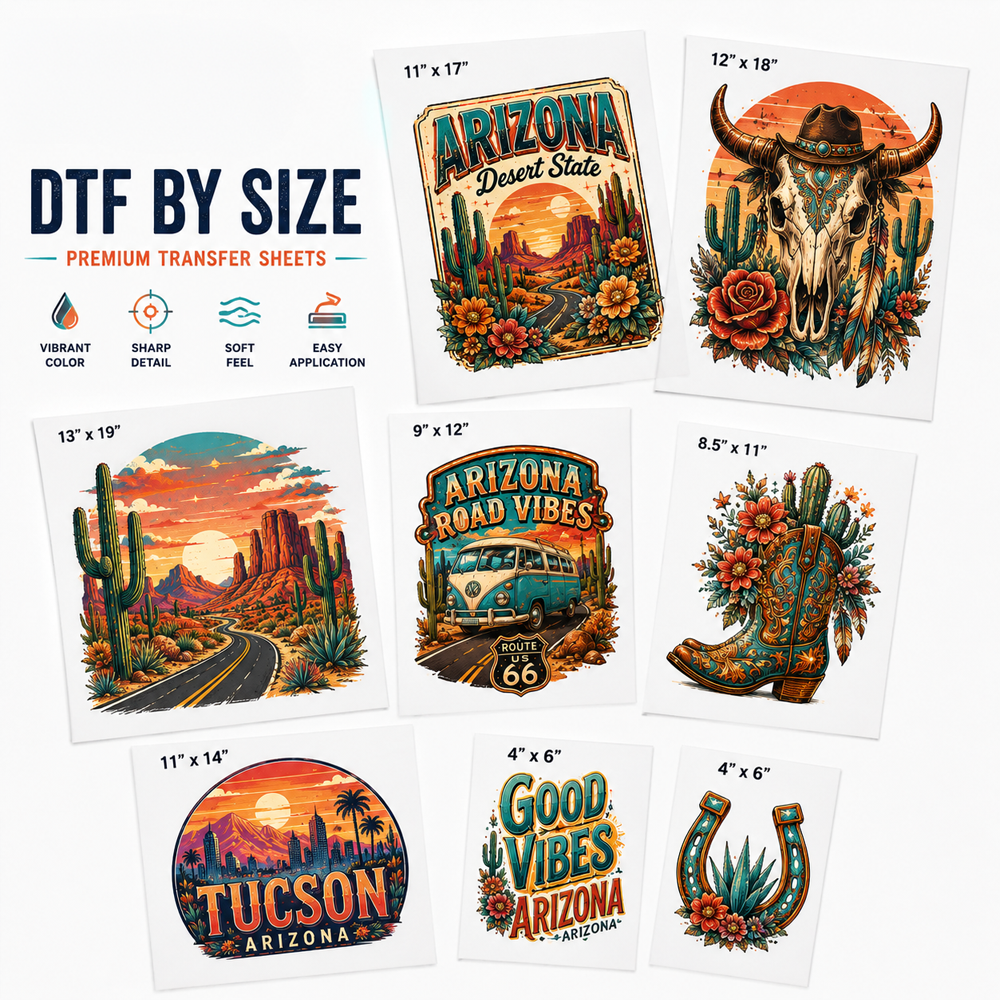
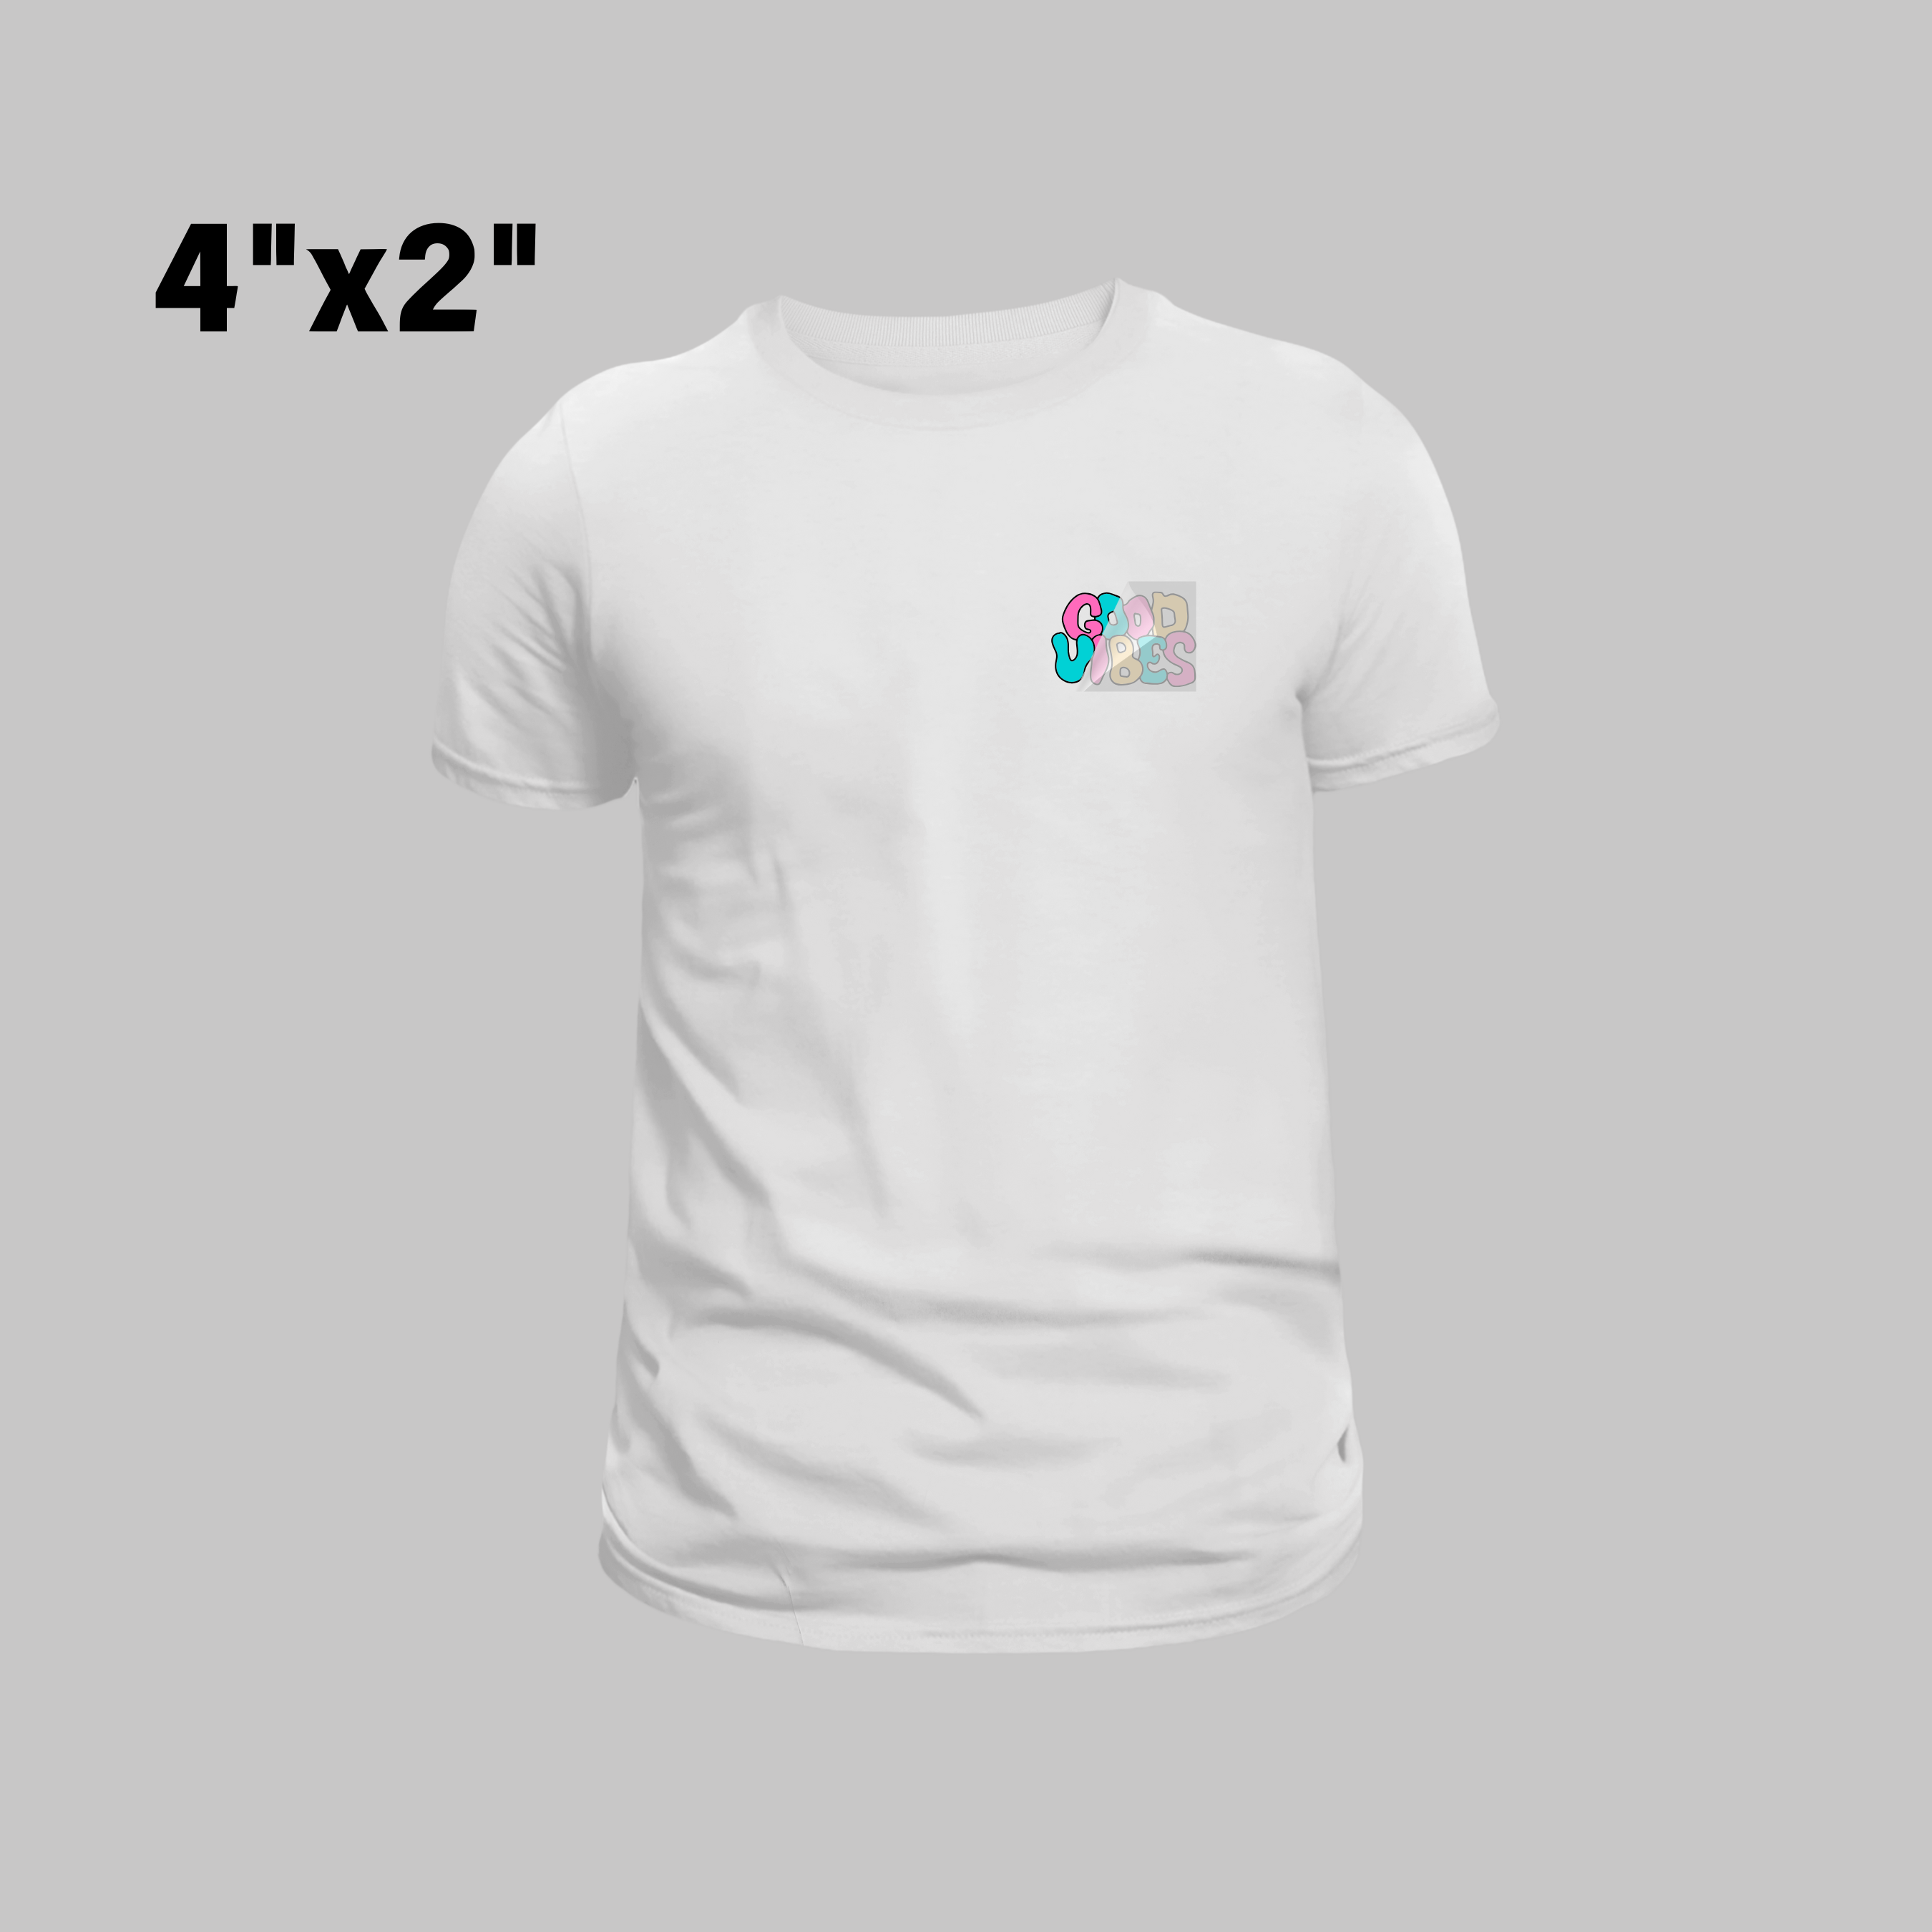
Set the artwork around the intended finished dimensions and placement area.
- Confirm the final artwork file.
- Set the finished design dimensions.
- Check the artwork orientation.
- Confirm the intended placement.
- Record the required quantity.
Keep Sublimation and DTF Decisions Separate
If you are still deciding which transfer method better fits the project, compare DTF Transfer vs Sublimation before preparing the artwork for production.
This keeps the transfer-method decision separate from the custom sublimation setup itself.
Compare Other Custom Sublimation Options
If the project requires a different sublimation workflow, review Custom Dye Sublimation Transfers separately.
You can also explore Custom Sublimation Transfer when comparing available custom sublim
Sublimation Transfers Custom
Filter
Sort by: