About this collection
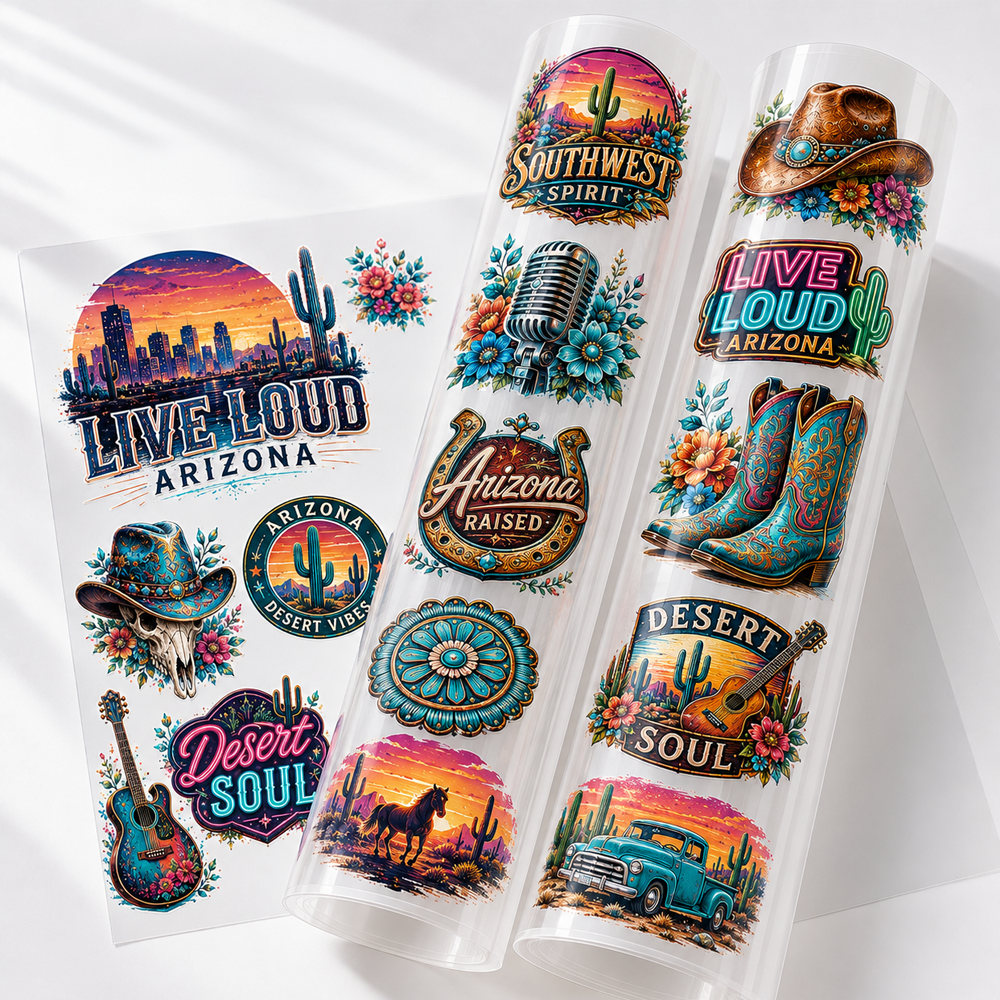
DTF transfers can support different custom apparel workflows, from one-off graphics to repeat production jobs with multiple designs and sizes.
The best starting point is to identify what stage your project is in: whether the artwork is finalized, the transfer dimensions are known, several graphics need to be combined, or the application setup still needs to be prepared.
Start With a Finished Artwork File
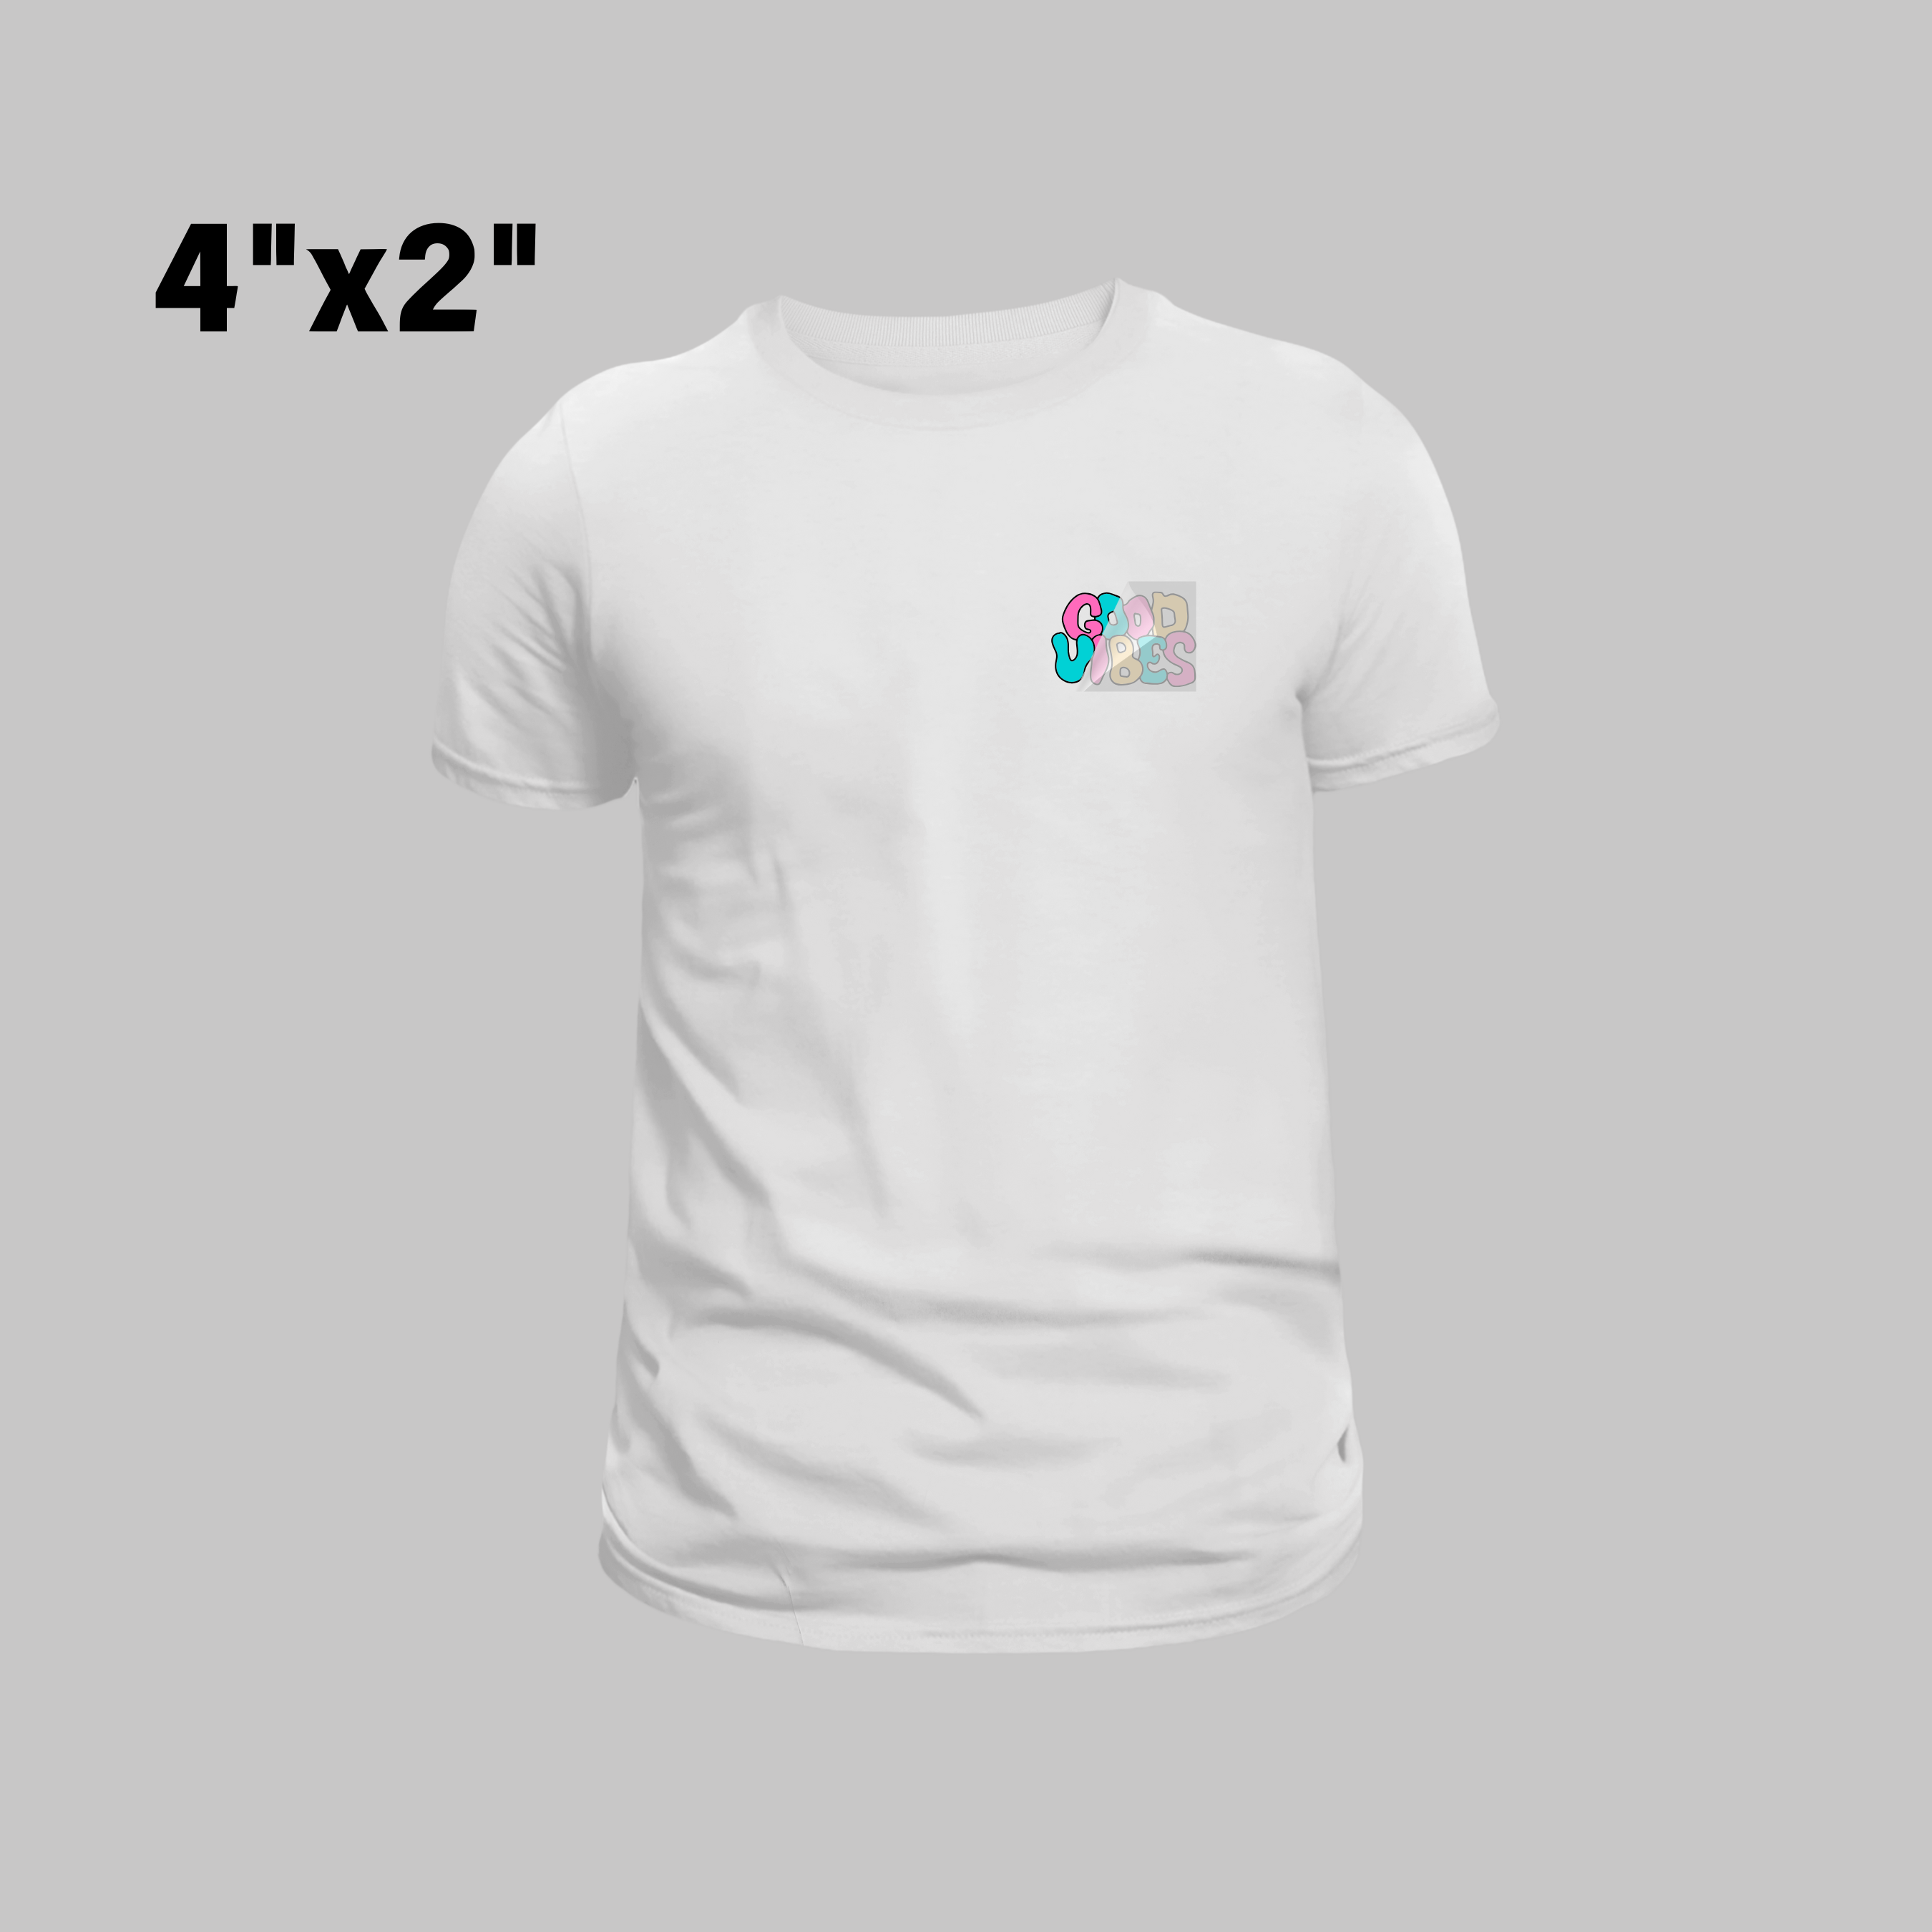
Before choosing a transfer format, confirm the final artwork version you plan to use. Check the intended dimensions, transparency, proportions, quantity, and garment placement before moving the design into production.
Keeping the approved file separate from drafts or alternate versions can make repeat orders and multi-design projects easier to manage.
Choose Individual Transfers When Size Is Already Defined
If each design has a specific finished size, individual transfers can keep the order straightforward.
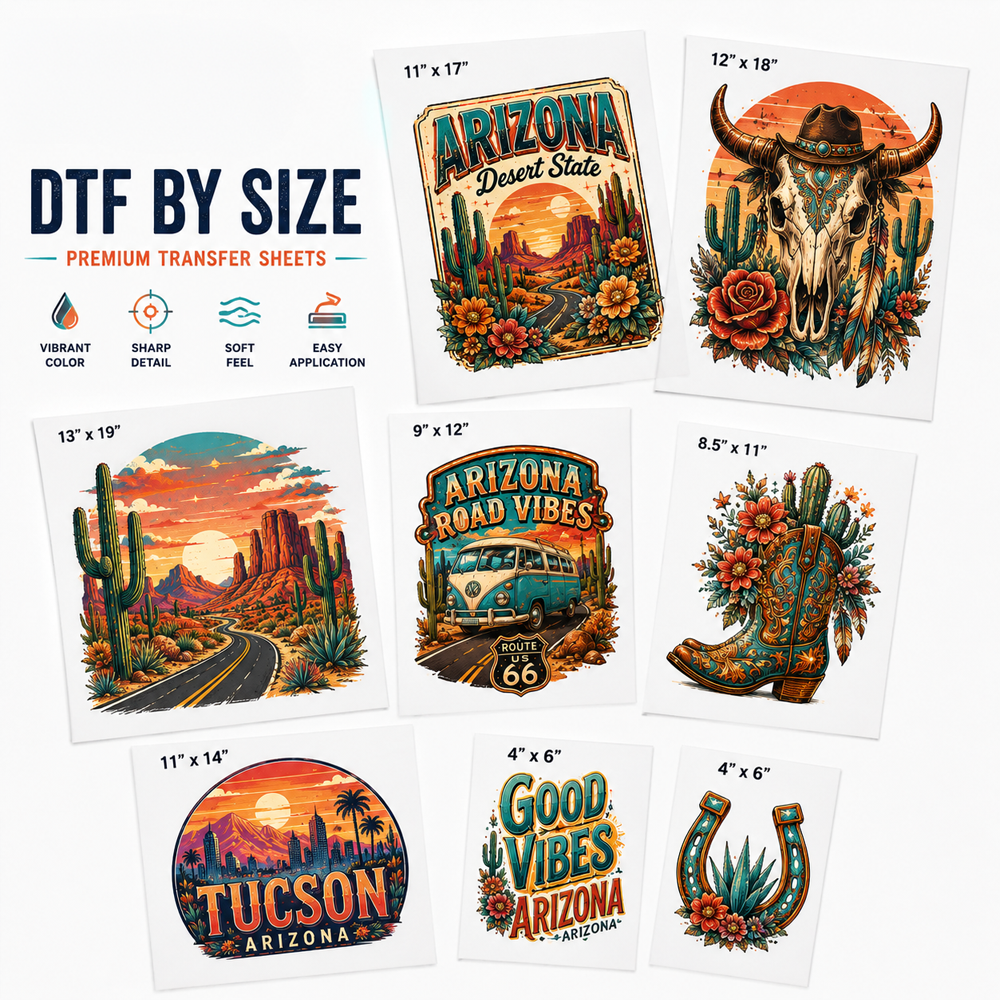
Choose DTF transfers by size when the artwork dimensions are already confirmed.
Combine Multiple Graphics Into a Gang Sheet
Projects with repeated logos, multiple artwork versions, names, or several transfer sizes may be better organized within a single gang sheet layout.
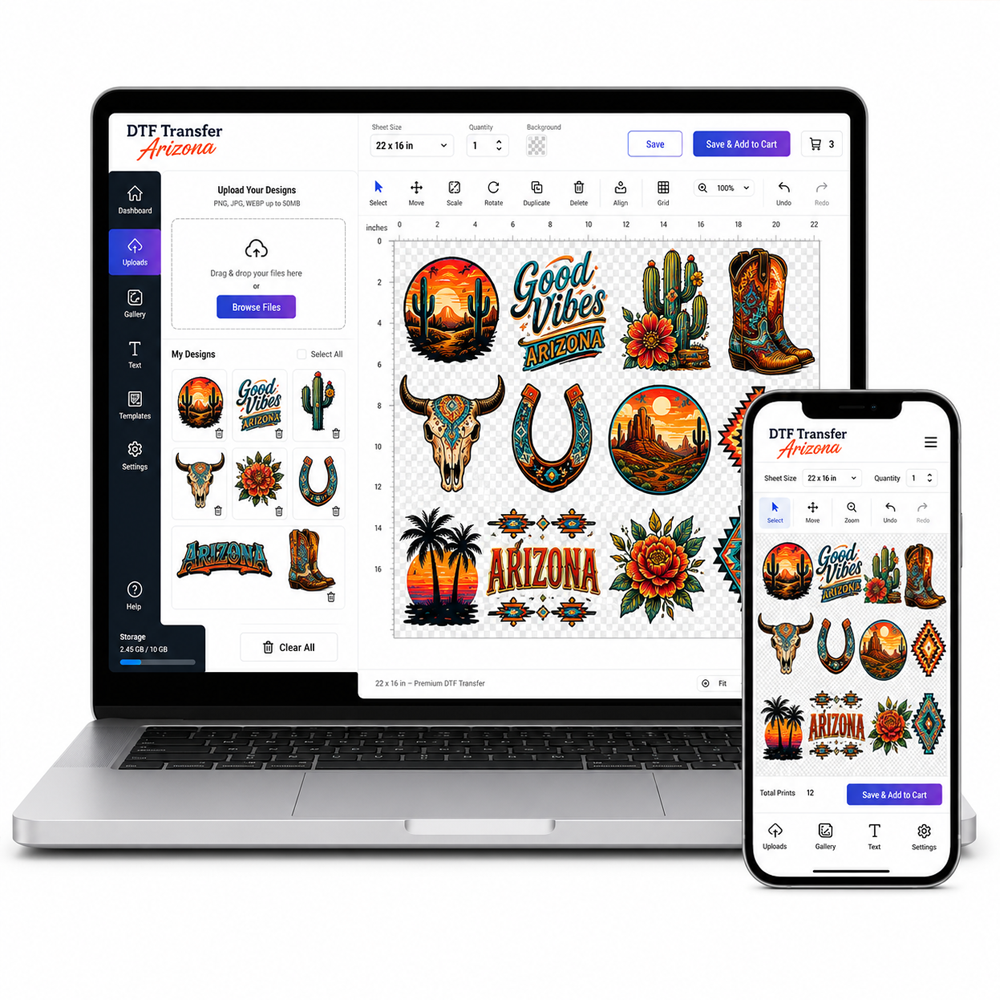
Build your DTF gang sheet to arrange several graphics within one layout.
If you prefer a standard gang sheet ordering option, view the DTF Gang Sheet.
Keep Repeat Apparel Jobs Consistent
For designs that will be reordered later, record the final artwork file, transfer dimensions, quantity, and garment placement used in the approved job.
This creates a clear production reference instead of rebuilding the order details each time the same design is needed.
Prepare the Application Setup
Once the transfer format has been selected, make sure the application stage is ready before production begins. Follow the temperature, pressure, time, and peeling instructions provided for the individual transfer.
If your workflow still needs pressing equipment, browse heat presses for DTF transfers.
DTF Transfer Now
Filter
Sort by: